This workflow is expected to change soon. Updated instructions will follow when available.
Setup
Snapshots are saved by triggering a QLab Network Cue.
Step 1. Obtain the IP address of the host(s) in your system. This is identical to the procedure described in the SEPIA Firmware Update Guide. Step 2. Use SEPIA to create your unique setup and ensure it is in the desired state before saving a snapshot.
Saving a Snapshot
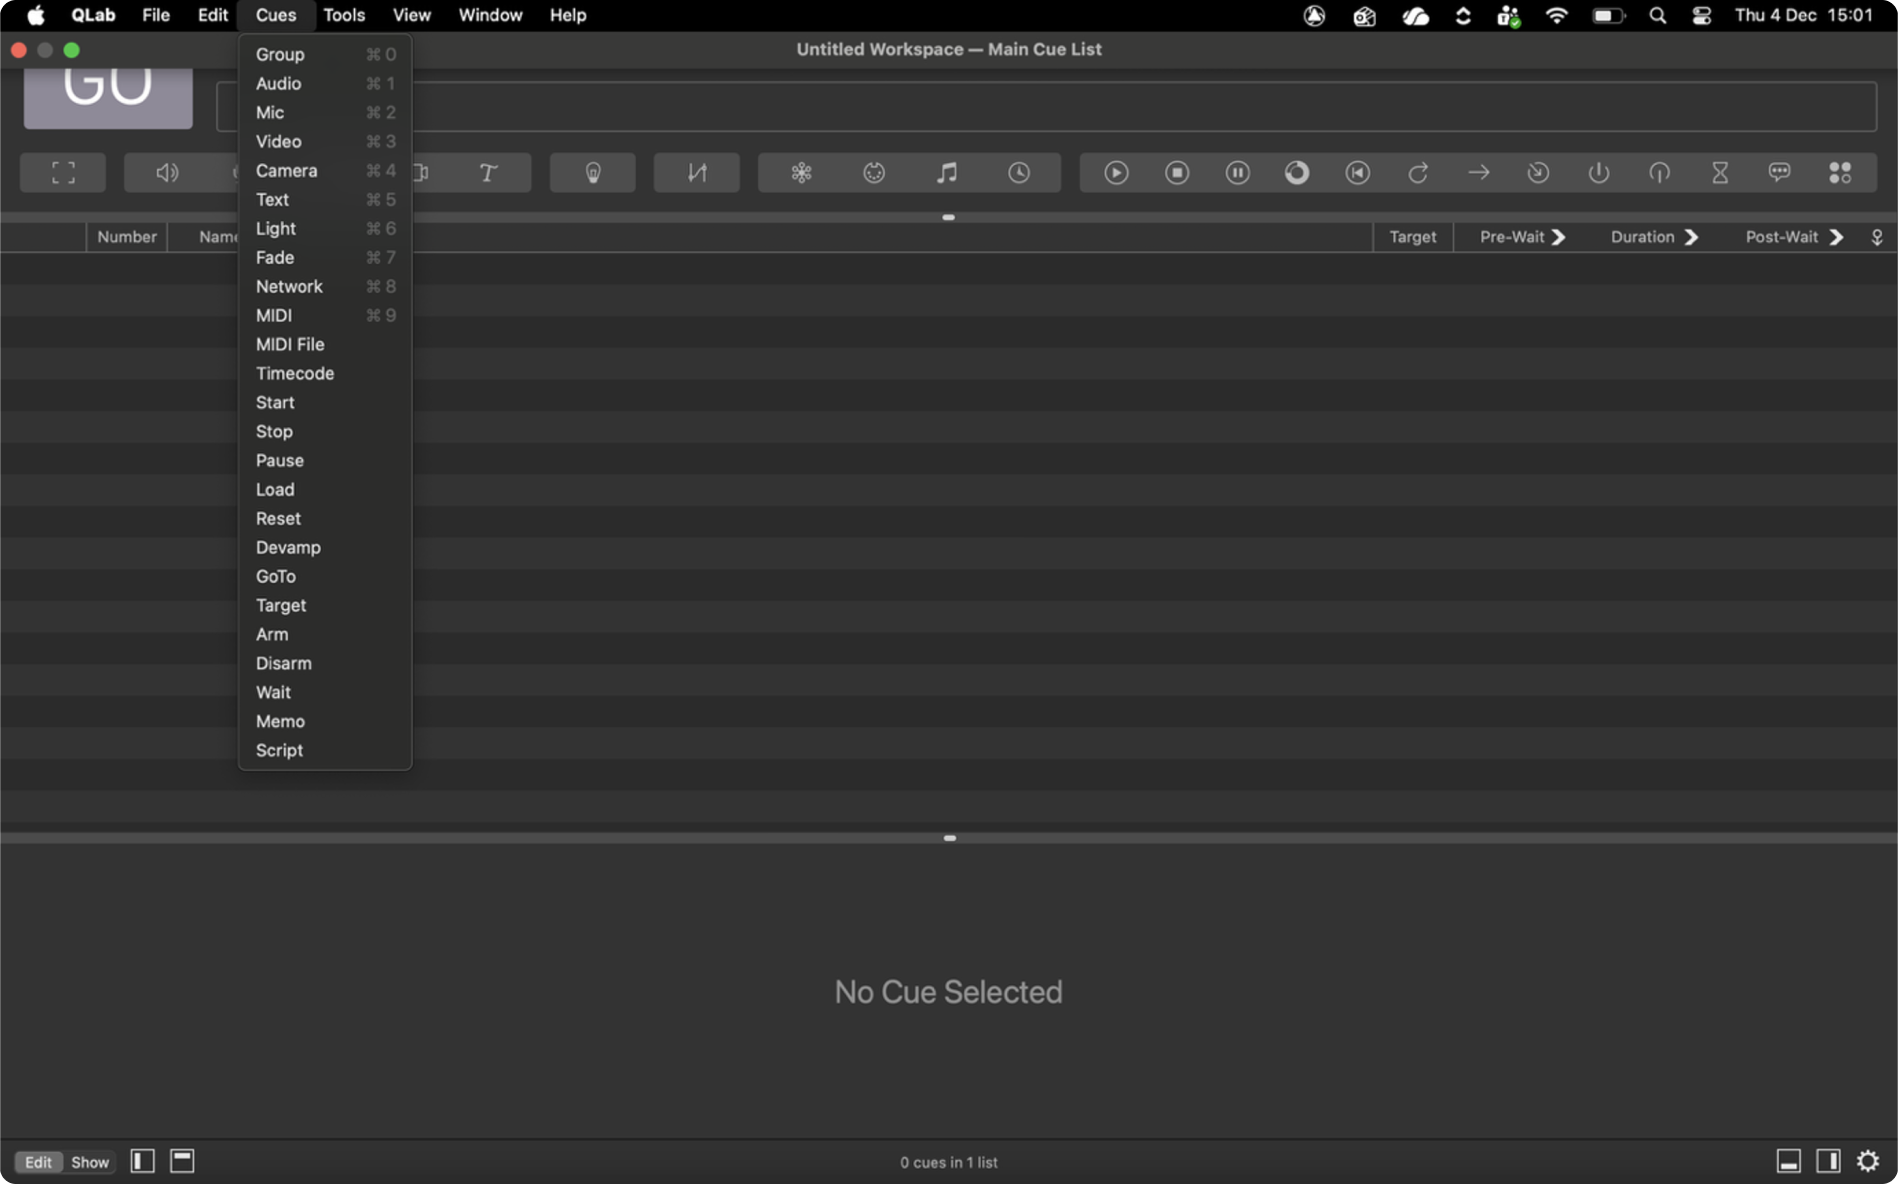
Step 1. Open QLab (QLab Pro is required; the Lite version is not compatible). Step 2. Create a new Network Cue: from the system menu bar, go to Cues>Network. This cue will trigger a save.
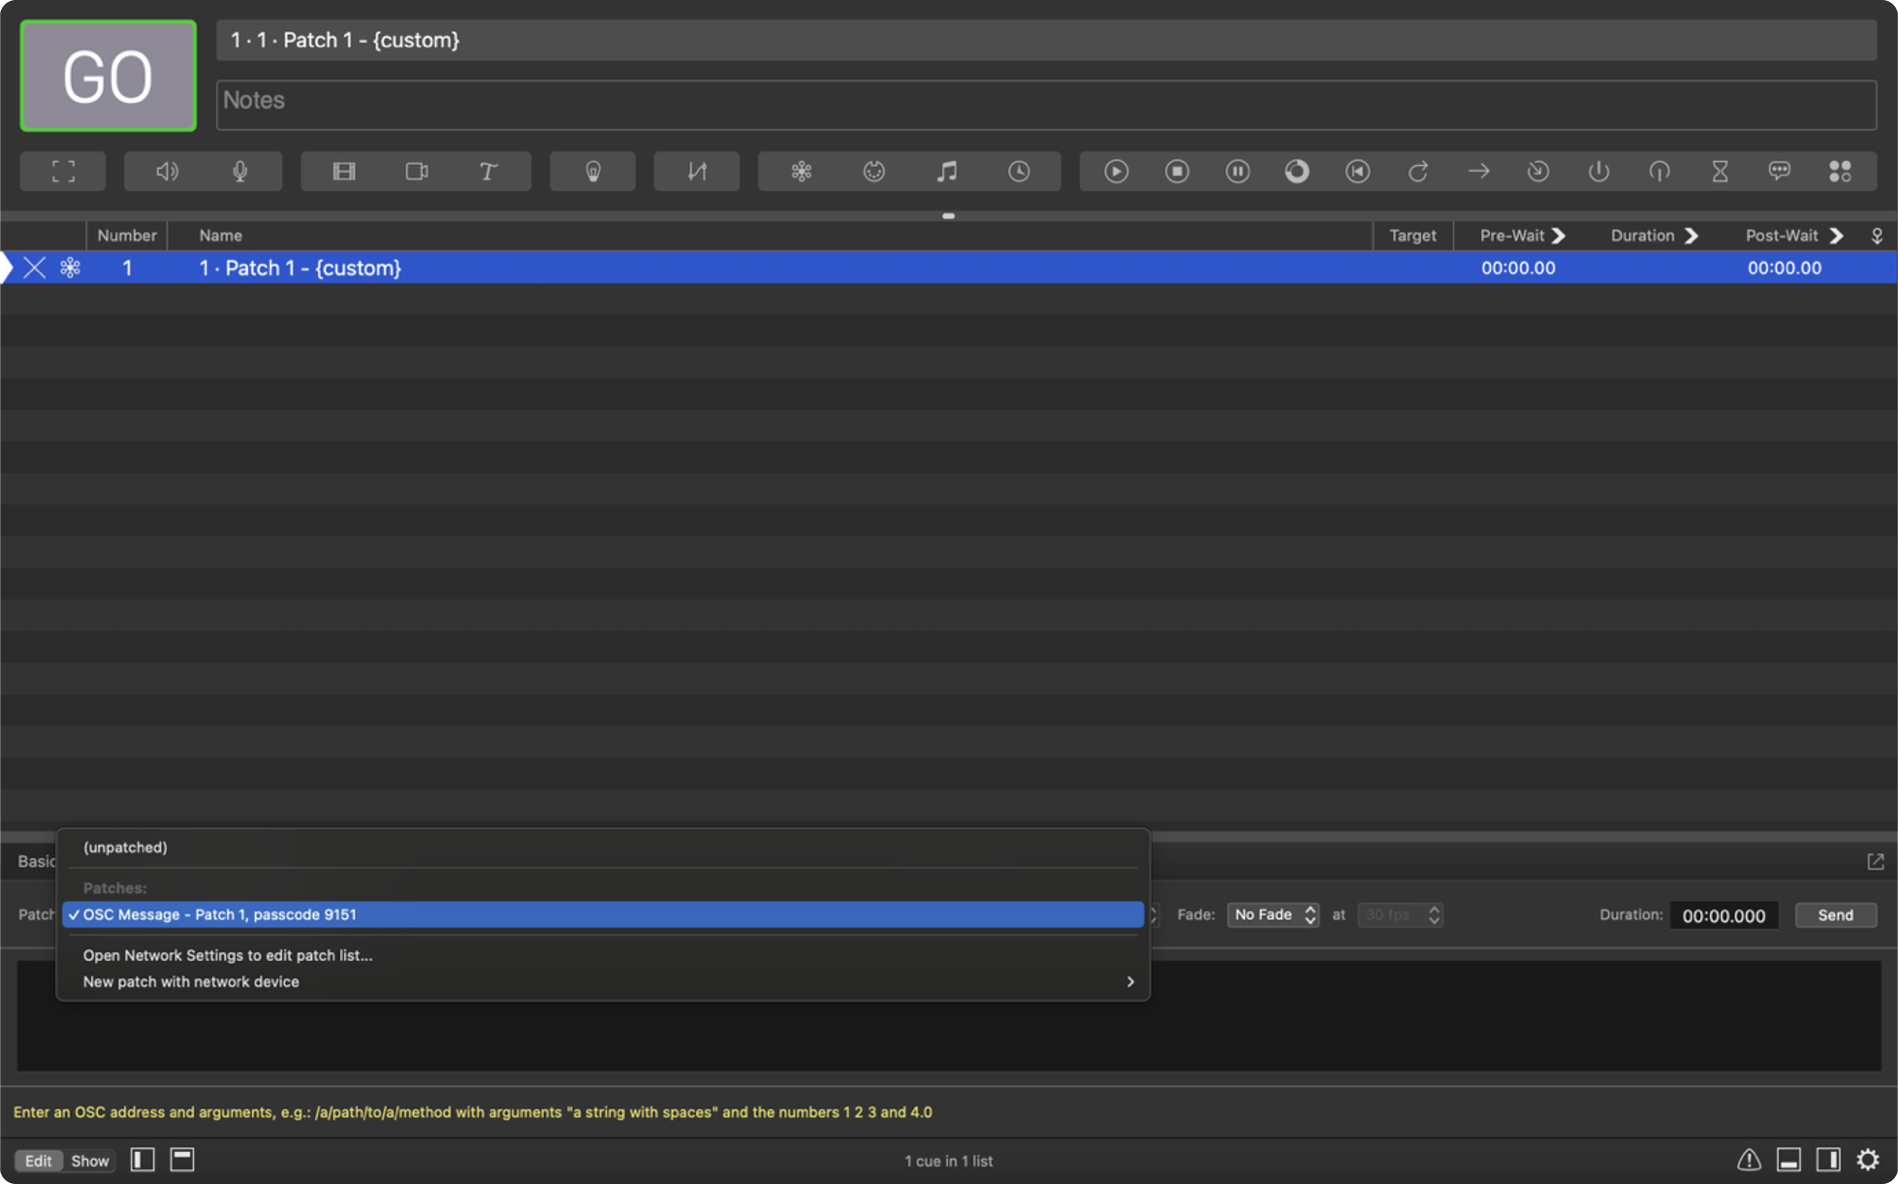
Step 3. In the Settings tab, confirm that the Patch is set to OSC Message.
Step 4. Give you snapshot a name. In the Command field, enter:
/preset/save “YOUR SNAPSHOT NAME”
IMPORTANT NOTE: The name inside the quotation marks is the snapshot name. Do not use spaces or special characters. Each snapshot name must be unique to avoid overwriting an existing file.
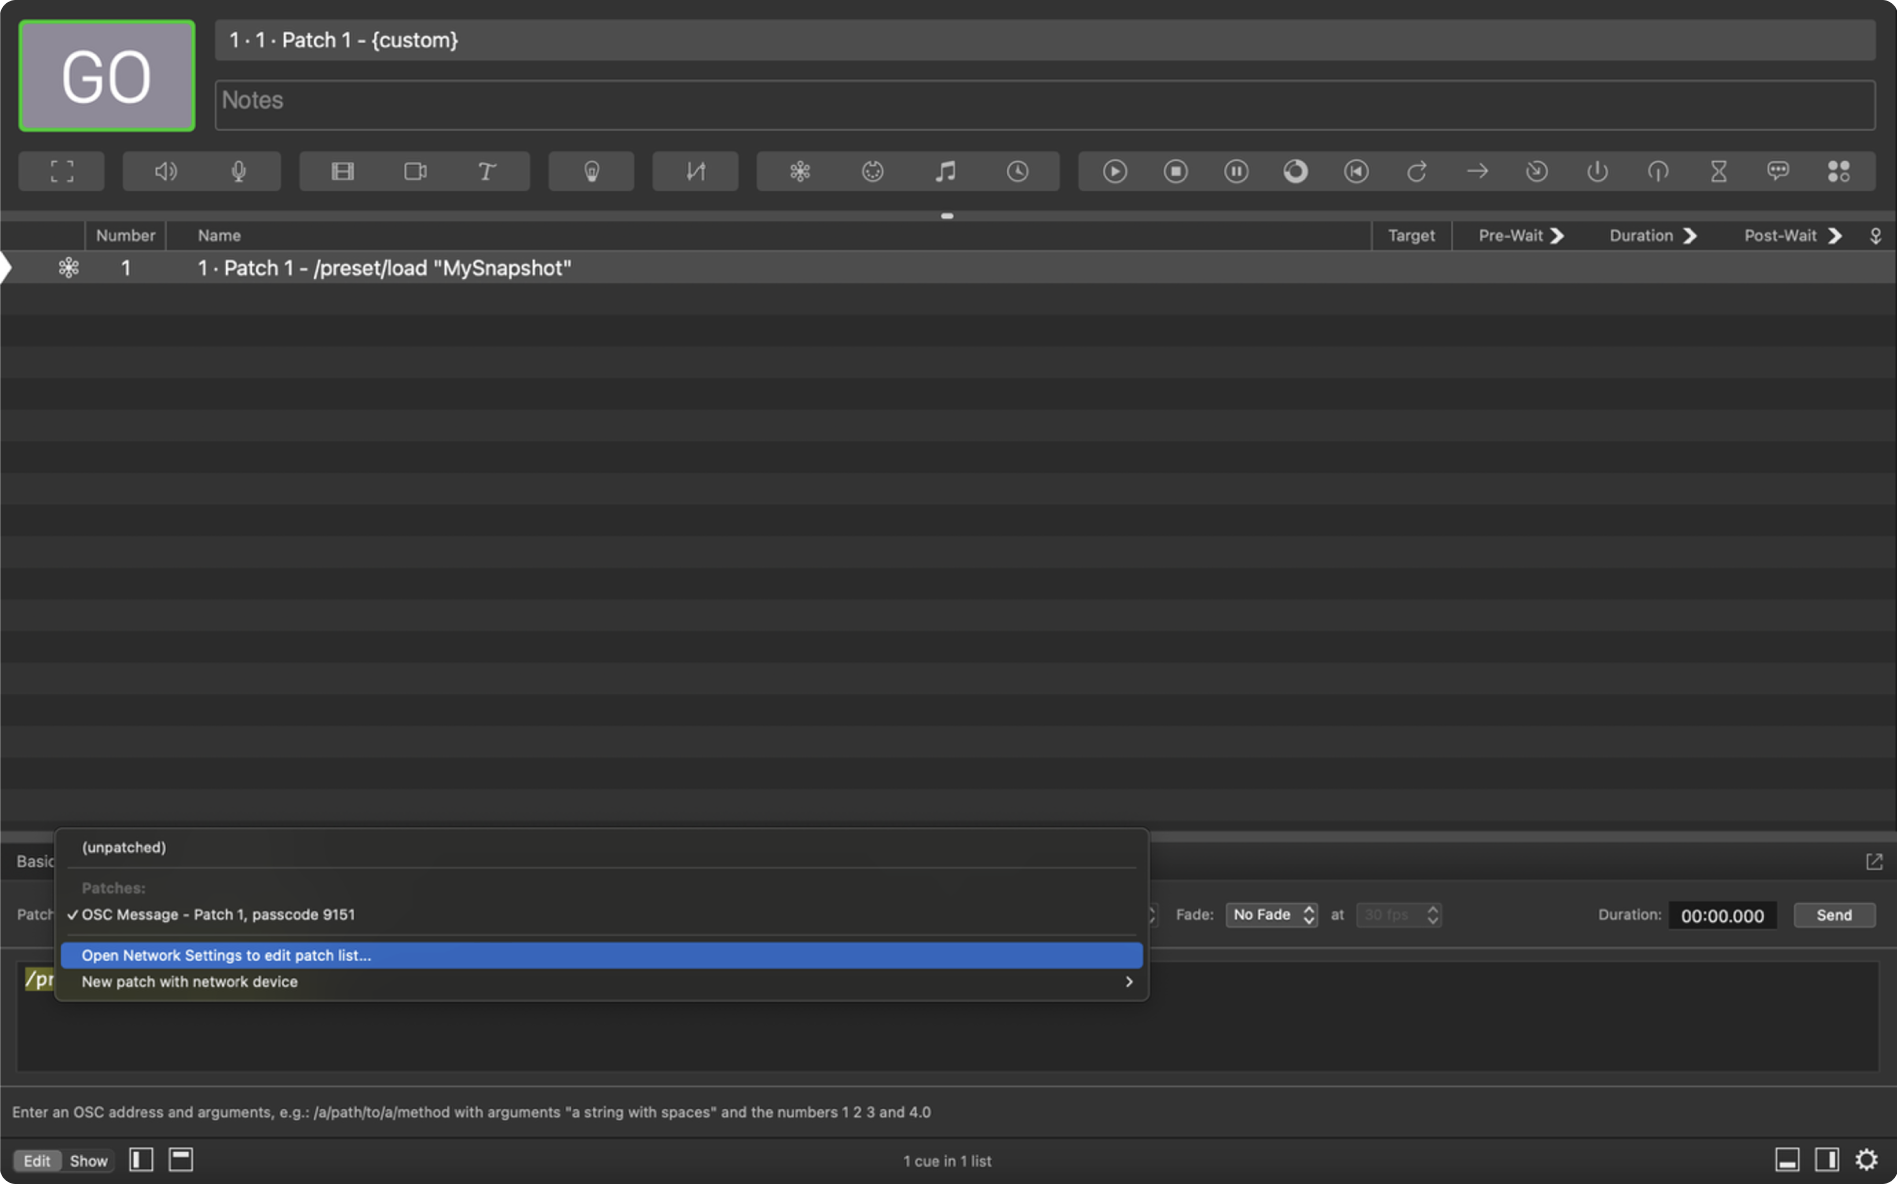
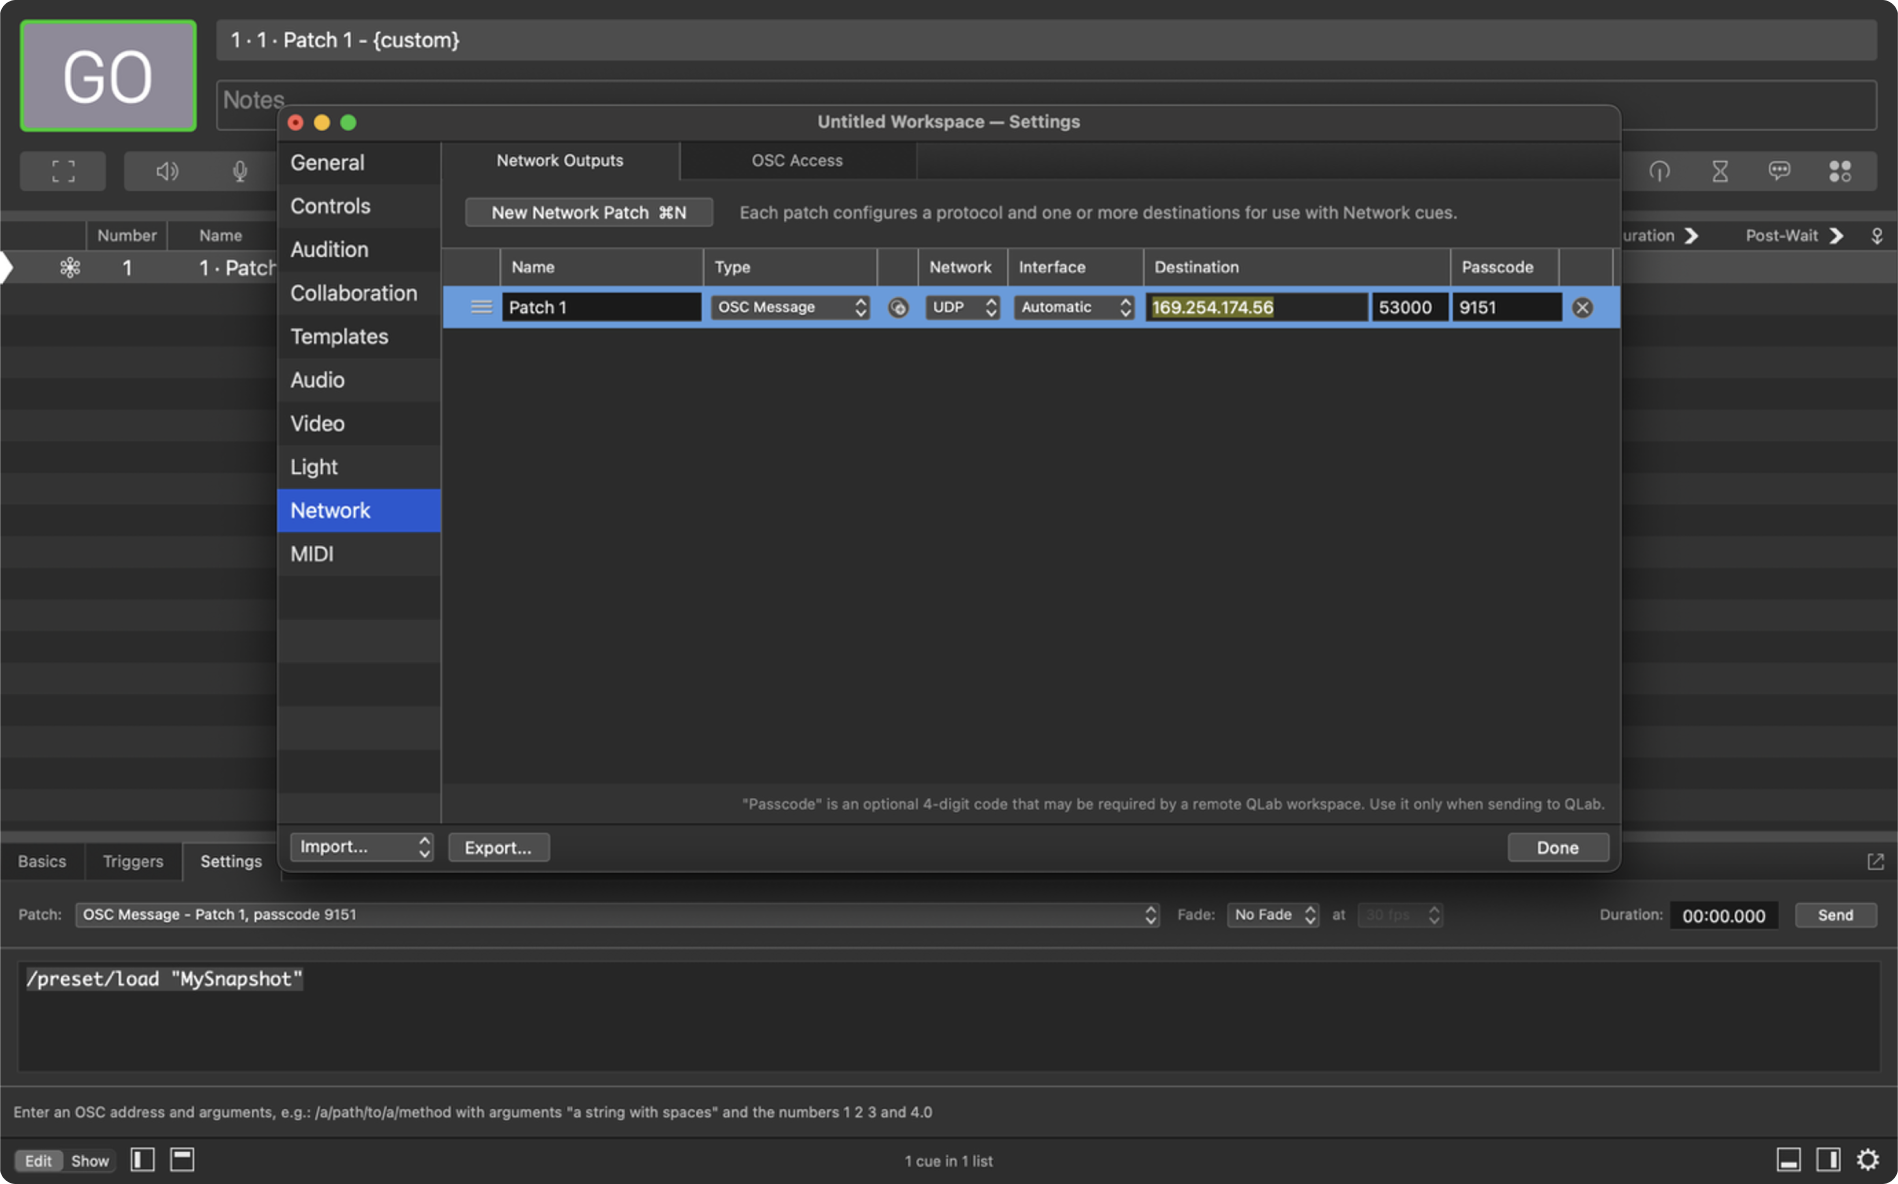
Step 5. Configure network settings for the cue. Under Patch, select Open Network Settings.
Paste the host’s IP address in the Destination field.
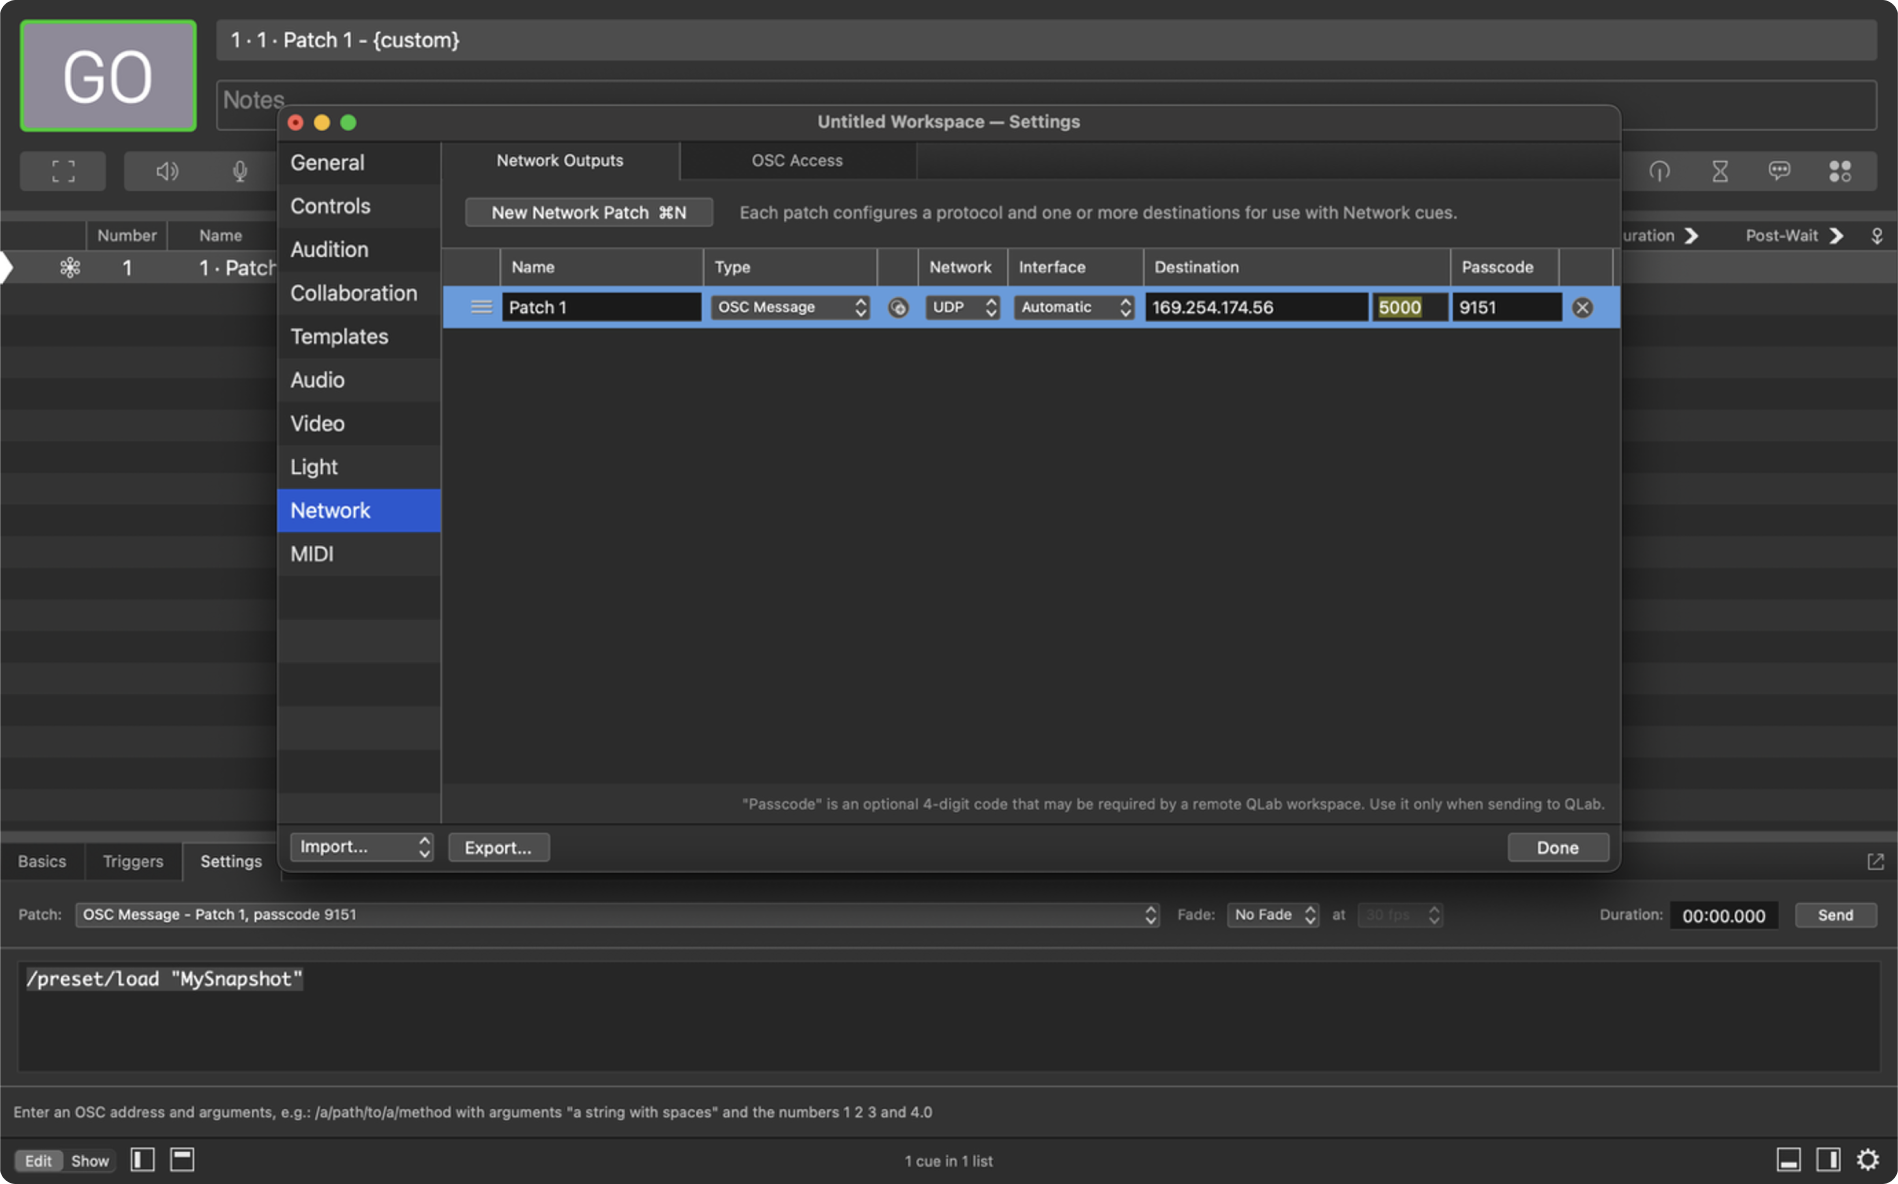
Set the Port to 5000.
Note 1: To save a snapshot for a multi-host system, you must create a New Network Patch for every host in your system as shown above. Note 2: Hosts on DHCP may receive a new IP address on each reboot. Ensure that all your network patches always have the correct IPs. To avoid this issue, put your host on a fixed IP. Only change your host’s IP address if you are confident your network is on the correct subnet.
Step 6. Trigger the Network Cue to save the snapshot. Make note of your snapshot name for later recall. Before creating another save, update the snapshot name in the command field.
Note 1: Each host can store approximately 3,000 snapshots; exceeding this may cause storage issues. Note 2: If you swap out a host in your system, snapshots must be re-saved for that specific unit, as snapshots are stored locally on each host.
Loading the Cue
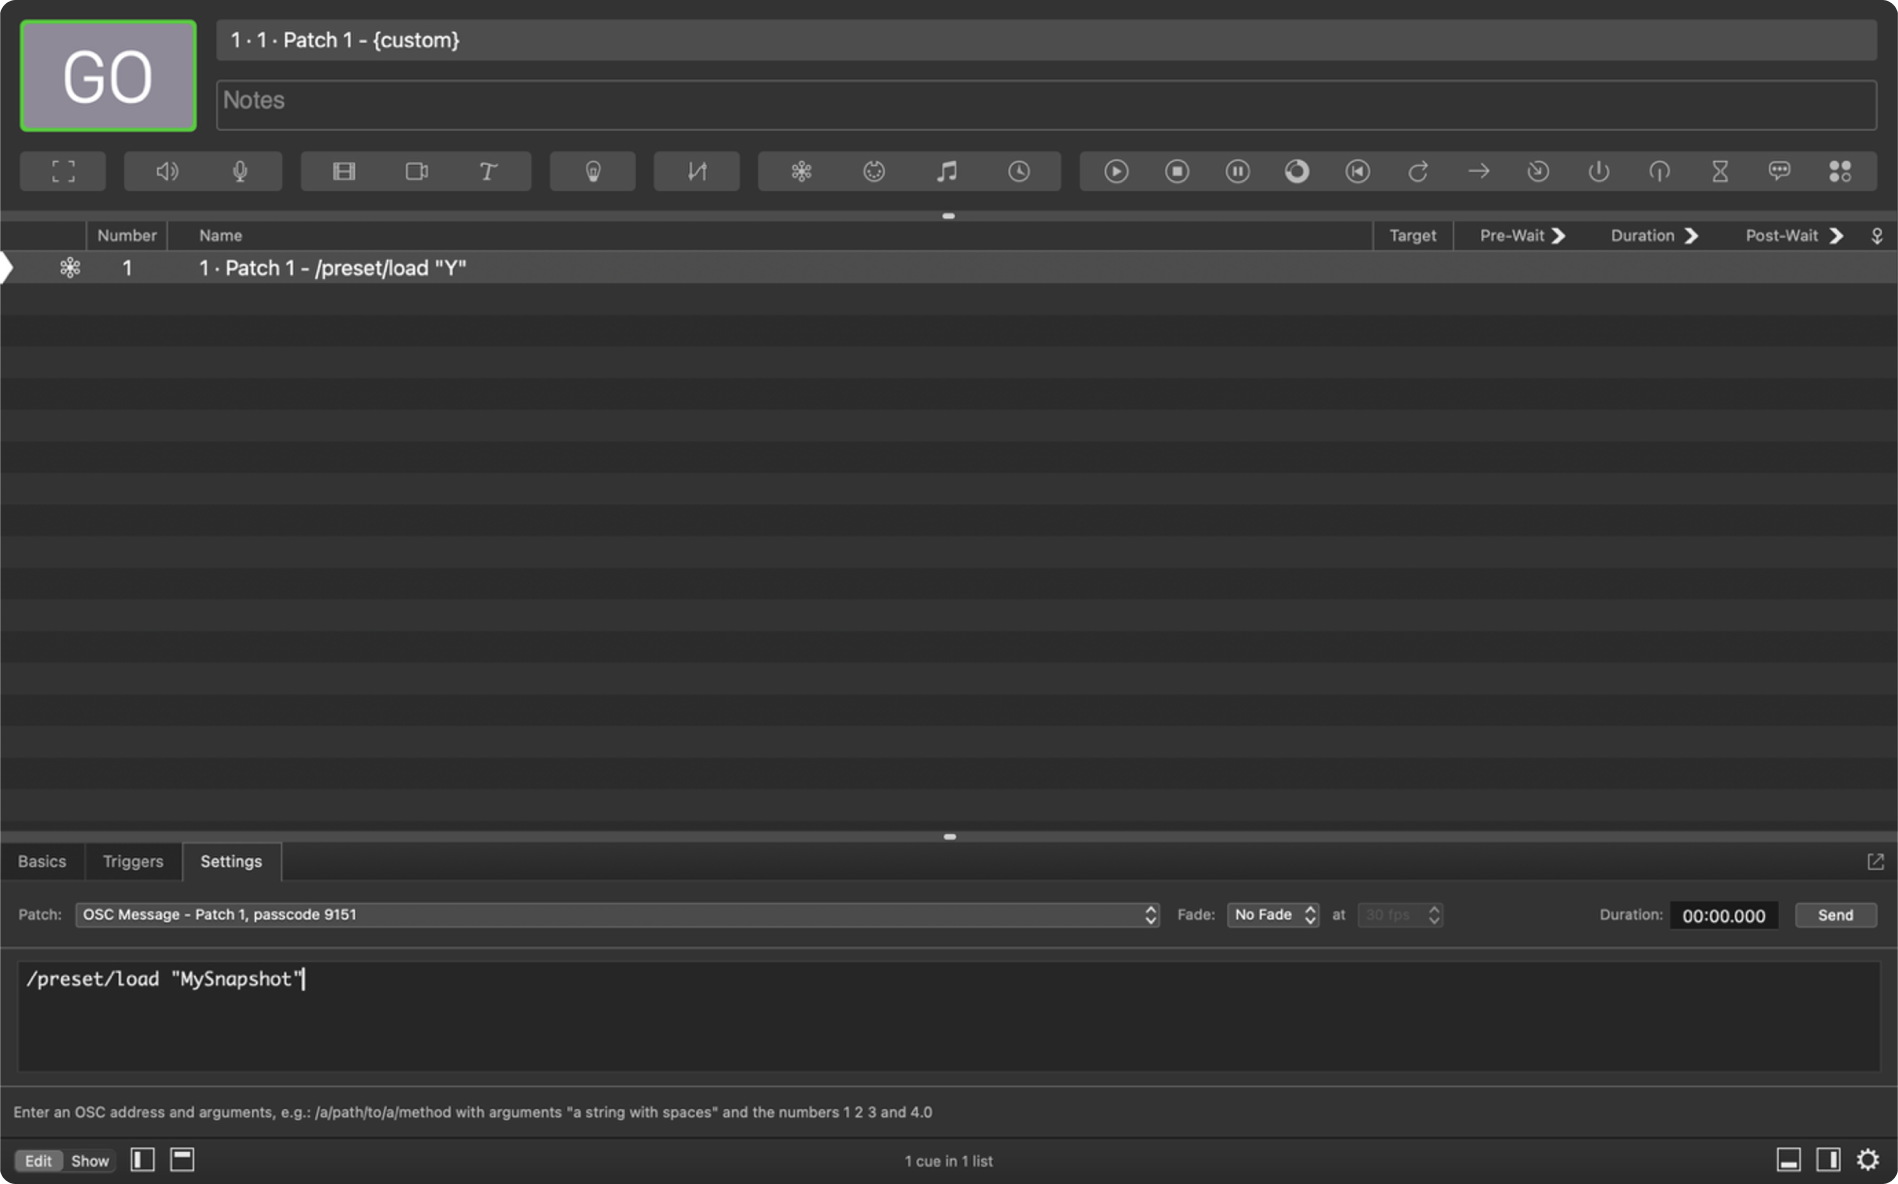
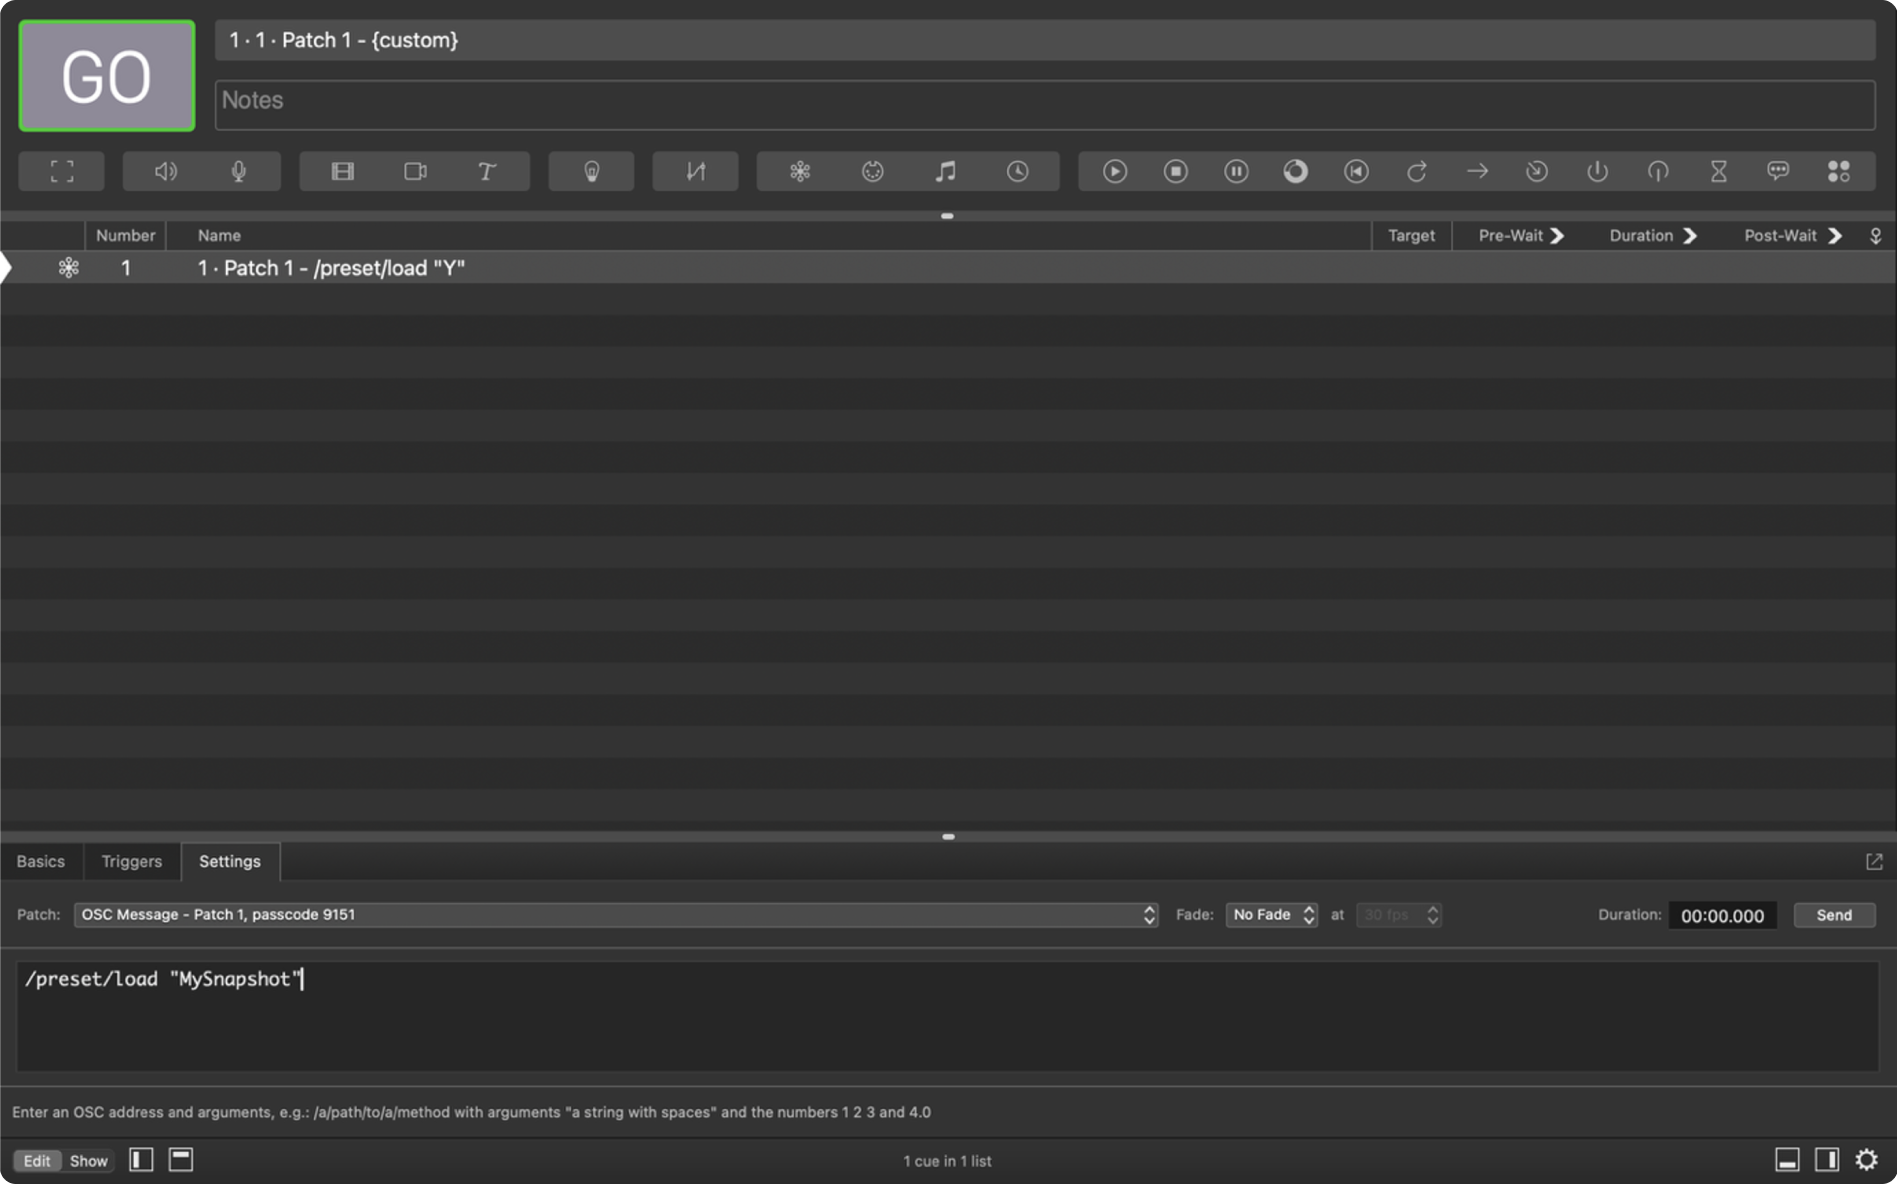
Step 1. Create a new Network Cue in QLab (same as before). Step 2. In the Command field, enter:
/preset/load “YOUR SNAPSHOT NAME”
Use the exact name used when the snapshot was saved.
Step 3. Trigger the Network Cue to load the snapshot.
Note: After recall, the client will not be in sync with the host. The red sync button will illuminate, press to re-sync the client.
Troubleshooting
If you find that your snapshots are not saving or loading, some systems may require extra steps. Both of these can be found in network cue setting.
You may need to set your network interface manually to the same connection as the host. i.e. either WiFi or Ethernet. Sometimes “automatic” mode has caused problems.
2. You may need to remove the passcode and leave the field blank.
Privacy & Cookies
We respect your privacy. We only collect and use your IP address for currency conversion when using our Shopify integration. This helps us provide the right currency based on your location. We don’t share this data and only keep it for as long as necessary. For our full statement Click Here